Bathroom and Kitchen DIY Remodeling Pictures Design Ideas Photos
DIY Bathroom Remodeling Tips Help Guide
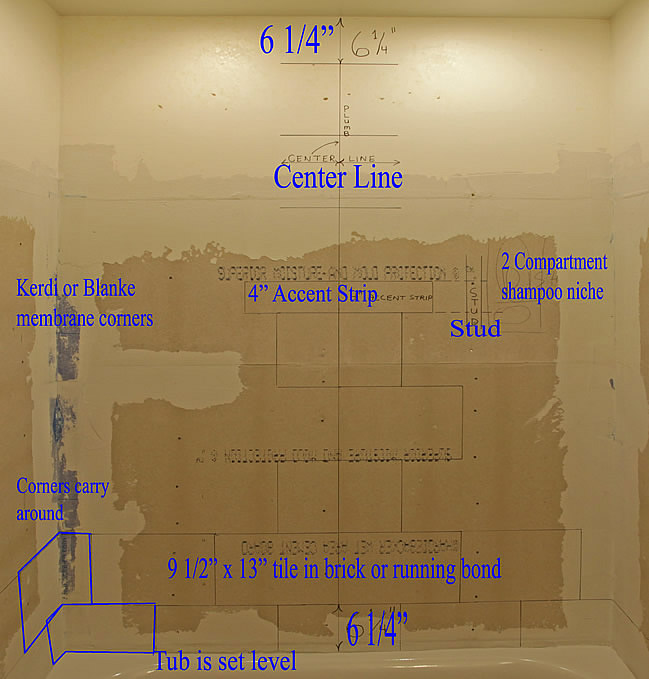
Eye Level Bathroom Design Do it yourself
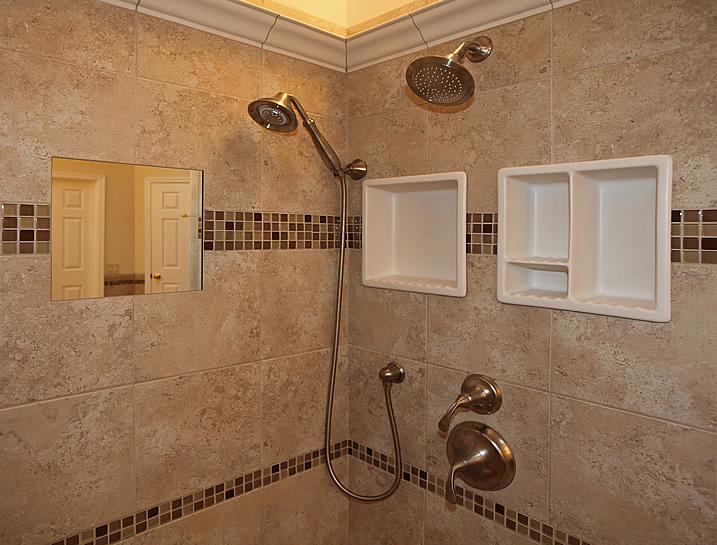
Bathroom design idea of the accent tile, heated mirror and porcelain shampoo niches at eye level. Notice hose location, out of the way. Ceramic crown molding shelf above shower head.
.
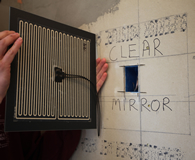
Keep everything at Eye Level, Heated "Clear Mirror" and niches with 4" glass mosaic centered. Ceramic crown wrap all around for nice decorations, glass figurines, ceramic art, shells or your rubber duckie collection. Decorate your shower, one of the most relaxing areas of your home.
All tile layout heights were based on the bull nose of the wainscotting ending up even with the top of 3" granite vanity splash.

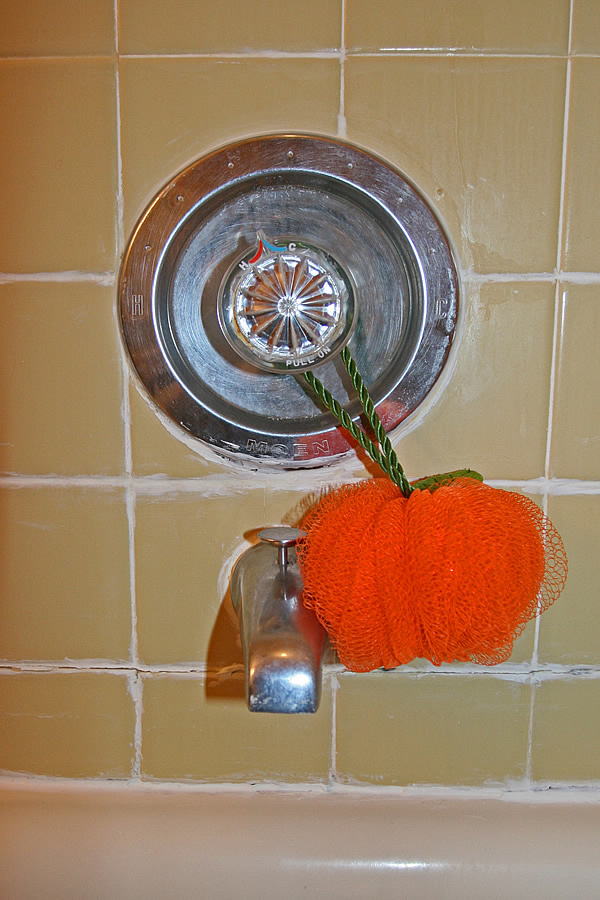
Kohler Forte Series Posi Temp valve, 2-3 way transition valve for hand held hose to left, capped to right. Existing hammer reducers, have never seen a home with this much pressure. The valves were sent low for the two side by side 12x12 porcelain niches to hit layout vertically. Green mark is at 45".The Kohler cast iron pan is 36" deep so two dishes fit comfortably yet shower head line goes straight up the middle. Look for the finished pictures as you will not see a shower stall much nicer with new ideas. Hand held hose loop is always a consideration, I have figured the hose to loop to the left around the niche and up to a mounting above the niche.
______________________________________________________________________________________
DIY floor protection and dust control
 *
*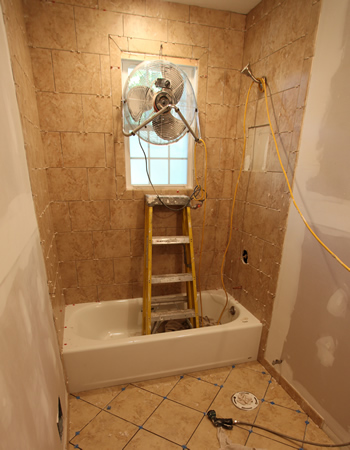
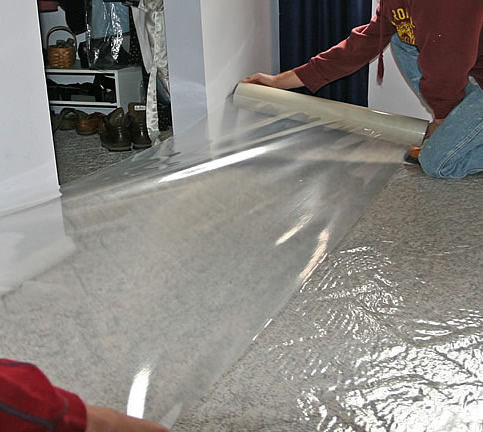
Carpet protector is inexpensive for a 25ft roll or use drop cloths to protect floors. If you have a window in your bathroom, put in a fan blowing outside.
_______________________________________________________________________________________
Be selective in your demolition
 *
*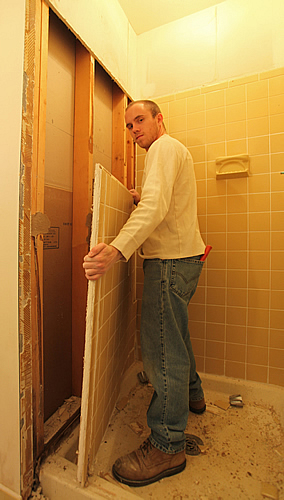
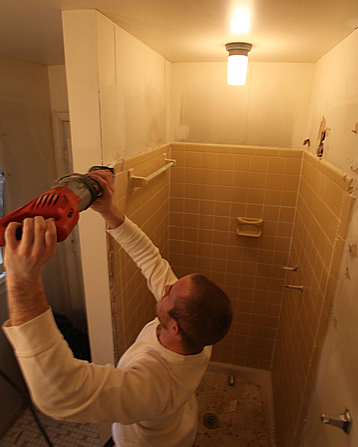
"Gutting" the bathroom drywall can add extra work and cost when the walls may only need a few extra screws and plaster touch up. Make surgical cuts, removing the tile work in sheets with the existing backer board in one piece. "Don't create more work than you are accomplishing". Make your drywall cuts where the new tile will "cover the cut". Sometimes we remove the first vertical column of bull nose tile and make the cut there to make sure we get coverage with the new tile. If a stud is not where your backer meets drywall, one can be added flat ways with drywall screws and glue.
_______________________________________________________________________________________
Use your Vacuum to back up cuts or to drain the toilet
 *
*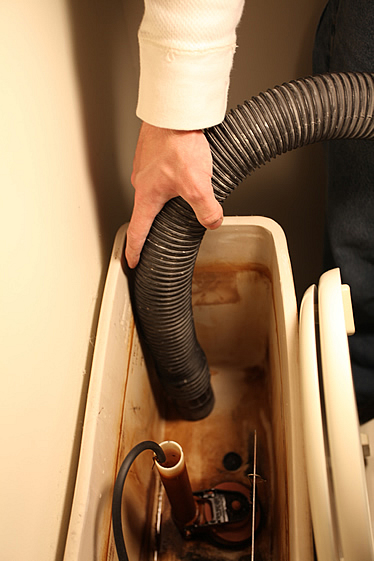
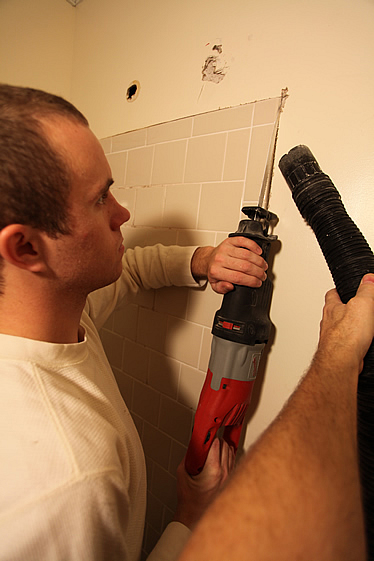
Keep dust down using your vacuum cleaner to back up the cut. Clean and take the filter out of the vacuum to drain the toilet tank and bowl.
____________________________________________________________________________________
Removing a cast iron tub
Remove the overflow and drain first. Always wear eye, ear, body protection and work safe. Always try to work the weakest point on the tub in order to break it easier.
______________________________________________________________________________________
DIY Bathroom Tile layout of video install below
Time lapse ceramic tile diy install
Bathroom Remodeling Tile design ideas from Mark on Vimeo.
_______________________________________________________________________________________
Tiling bathroom floor on diagonal
|
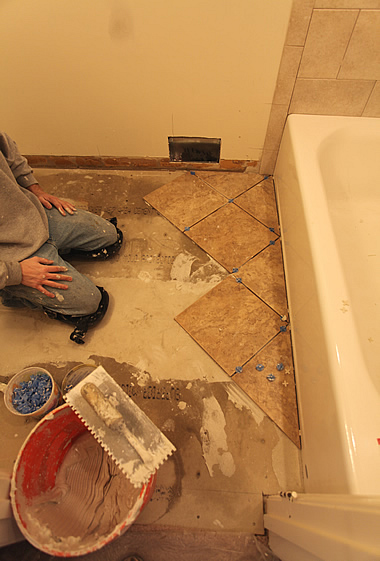 |
| Hardi backer board already set in thin-set. Wet down backer with mist to give more time to adjust initial tile set, in line with front of tub. | With 3 tiles cut diagonally in half, work out of corner parallel along front of tub. If tub has a slight curve in front, stay in a straight line with your tile. |
 |
|
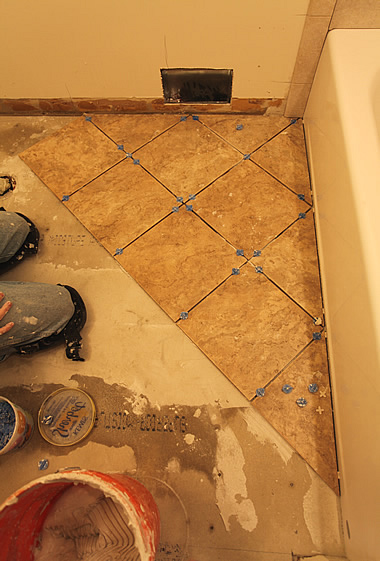
| "Square" off the front of the tub, where not being off matters most. | |
 |
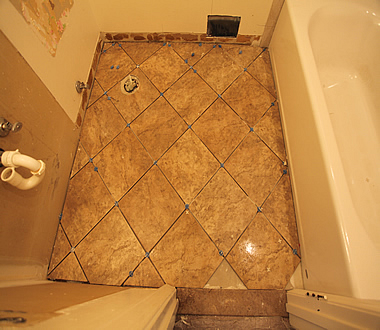 |
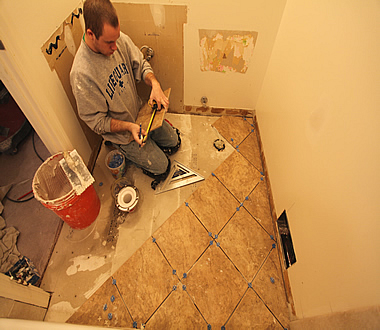
| This area overall measures 5 ft x 5 ft. We normally cut off the toilet flange and replace with a new one on top of the tile. | Starting out with full 12x12 tile diagonal half's in a 5ft x 5ft space leaves reasonable size cuts on the opposite wall, which are then covered normally by the toilet and vanity. |

______________________________________________________________________________________
Black Mold Ants
Polybutlyne and Rot in Bathrooms
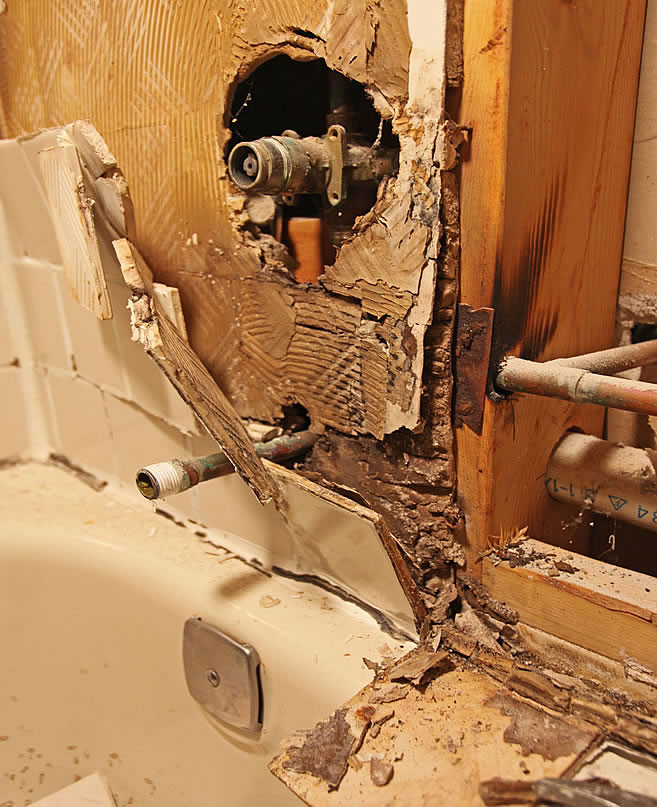
Loose tiles, water seeping into green board backer is a recipe for mold, rot and bugs.
______________________________________________________________________________________
Kitchen Remodeling Contractor's Loose Ceramic Floor Grout
 *
*
This kitchen ceramic floor tile was improperly installed directly on lino/luan plywood which is not stable, causing the tile to break and throw grout. This situation generally takes a year or two to show itself which is normally past most state mandated contractor warranties (1yr). If you are lucky to have a contractor who stands behind there work, they will repair it. Of course why would you do this in the first place?
To repair this floor correctly all layers of flooring must be removed to subfloor renailing with ringshanks and installing 1/2" concrete board set in thinset. Complicating this after the fact repair is new cabinets, appliances and granite tops that must be protected 2 years after the original remodel was completed.
______________________________________________________________________________________
Quest polybutylene piping and Acetyl fittings

Quest pipe ( polybutylene ) and Celcon ( Acetyl ) fittings are a discontinued water supply piping method- Poly Time Line. Some insurance companies don't insure your home from flooding if your Quest system fails. There is a class action lawsuit. Chlorine coupled with hot water "eats" the fittings and is exacerbated by higher than standard water pressures. In the picture above the inside of the fitting (hot side) has chemically reacted with the chlorine in the water causing deterioration of the fitting. Notice the break is very clean at a thin "barb" section. Standard water pressure in a residence should be between 50-60 PSI. This home had a 78 PSI reading during the day which probably rose over a 100 PSI at night when off peak city water usage times. Water damage from a broken fitting can be 10 times the cost of changing to copper in your home.
If you can't afford replacement right now, at least check your water pressure and have a new pressure regulator installed to keep high pressures down.
______________________________________________________________________________________
Mud set pan with drywall backer board
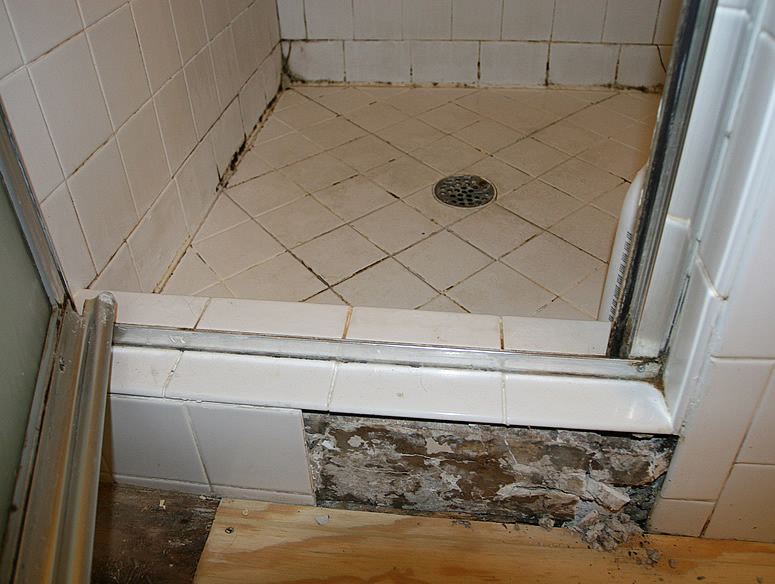
This is a tract builder's mud set shower pan. Not sure why they did this as a fiberglass shower pan is less expensive. This must have been an "upgrade" for the home buyer. It seems this has been leaking through the ceiling for a few years, rotted the floor and looks like the builder used regular sheet rock as a backer for the tile. Small ants have been spotted. All living things need moisture including mold, fungi and ants.
______________________________________________________________________________________
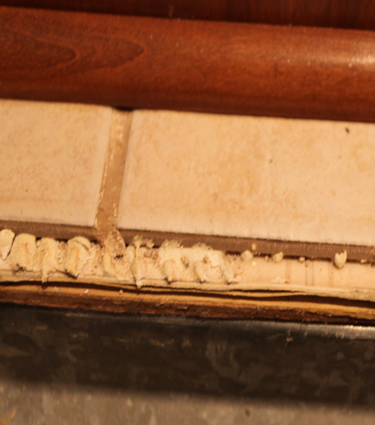
Bathroom Black Mold
Black mold mud set shower pan. Center for Disease Control CDC "Mold Questions and Answers" Moisture, humidity and leaks in your bathroom facilitate mold growth. Mold is a health issue. Use your bathroom exhaust fan, repair leaking pipes and replace poor or damaged tile work. In other words, try to keep your bathroom dry. Fairfax County Va. "Mildew, Mold and Fungi" Musty or earthy smells probably mean mold problems.
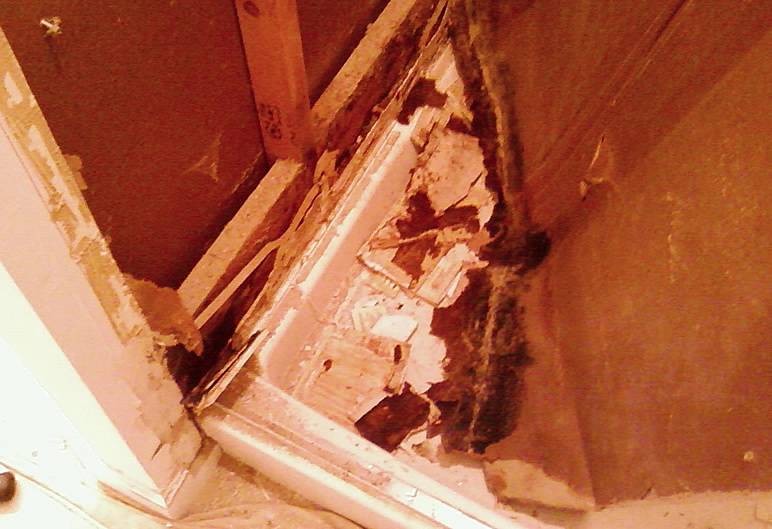
If you have loose or "spongy" tile in your tub shower area, this is what it normally looks like when torn out. Mold in a bathroom can be a health hazard. Mold is propagated in a humid environment caused by plumbing leaks, loose tiles in the tub shower areas and not using a fan or window to reduce humidity in your bathroom. The EPA says " the longer mold grows the more damage and health effects it can cause".
Bathroom shower "green board" rotted at the bottom. Caulking dam and bad tile work has caused the green board to get wet, mold and deteriorate. I personally don't use green board for wet location tile work. Concrete board or the Schluter system are much better options for backing up quality tile work.
______________________________________________________________________________________
Carpenter Ants
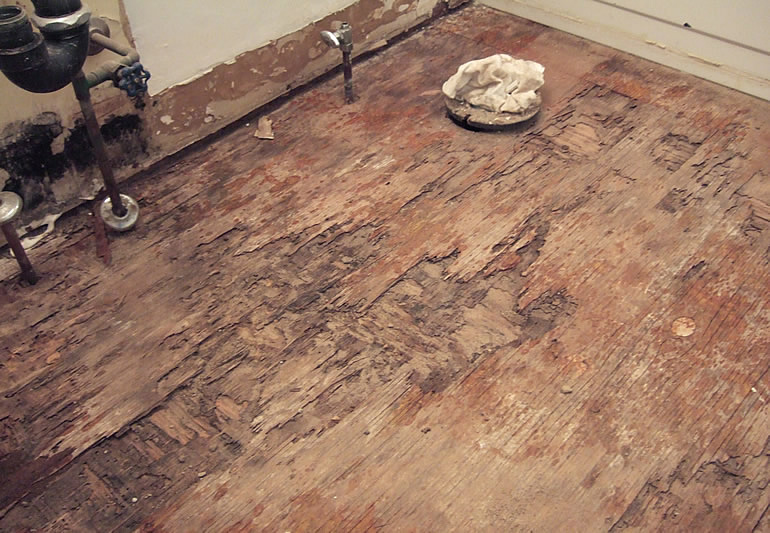
Bathroom sub floor rot and old carpenter ant infestation. Carpenter ants prefer to live in moist wood that can be caused by water leaks in bathrooms. Take away the moisture and they generally will leave. We removed sub floor completely and replaced with new 3/4" plywood. In another note, I had ants in my home and found this article on homemade ant killer ( boric acid, sugar& water), it worked great, killed the colony and I didn't have to pay a pest control person monthly fees.
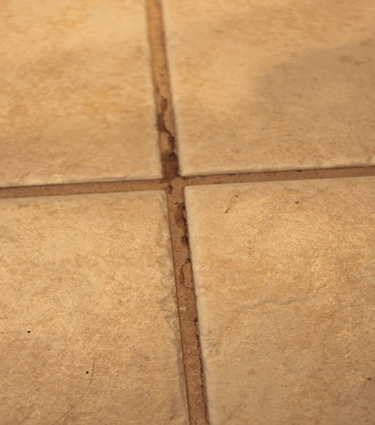
Silicone caulking Dam
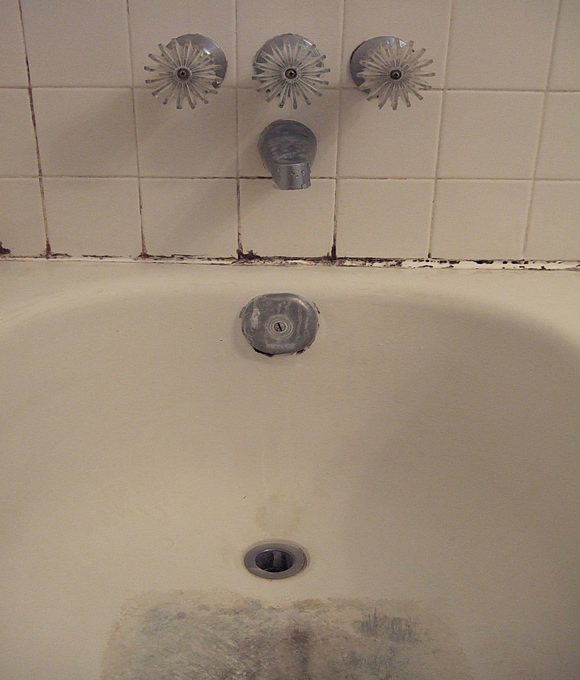
Grout wicks water down the grout lines in behind the silicone dam to be trapped. If no silicone is used water just wicks out the bottom of the grout and dries. Before the tear out, the tub caulking acted like a miniature dam to hold moisture at the bottom edge of tile work and promotes mold growth, wicks into green board and will promote rot of the wood. Rubber floor mat and abrasive cleanser caused the tub to wear much quicker.
Water is making its way behind tile to make the substrate expand, further opening grout lines. Probably mold growing in the wall. This is a total tear out and replace situation. Grout repair will not work and my feeling on tub/shower inserts or painting of tubs is comparable to getting expensive seat covers for your car. The tub is not terrible, but I always recommend changing the tub or shower pan. Who wants to have a new remodeled bathroom with an old tub.
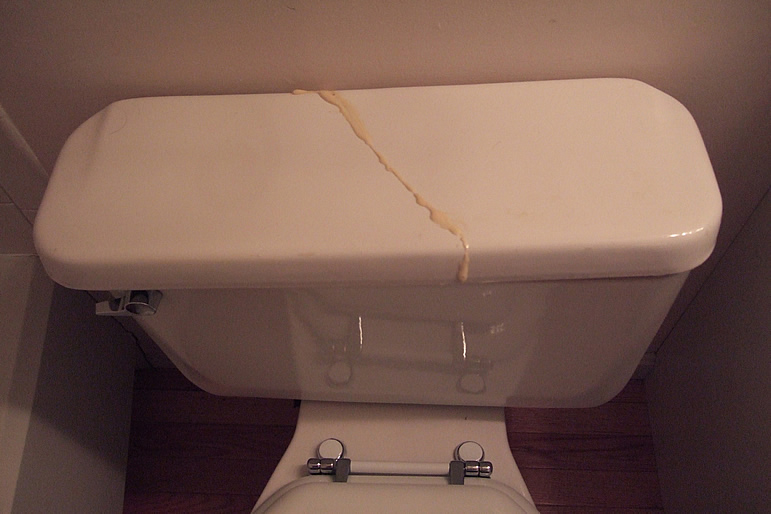
Quick fix for cracked toilet tank lid. It held together well. Gorilla glue I think.
 *
*
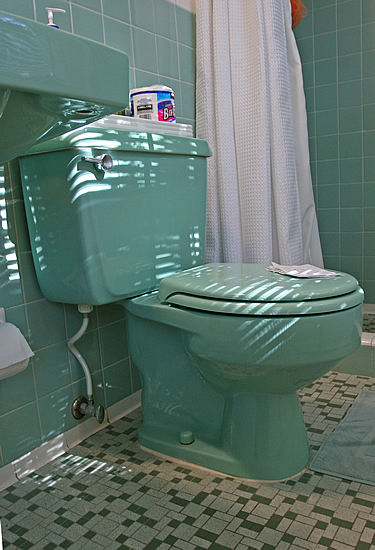
Bathroom remodeling sea foam green and pink toilets with matching tile work.
 *
*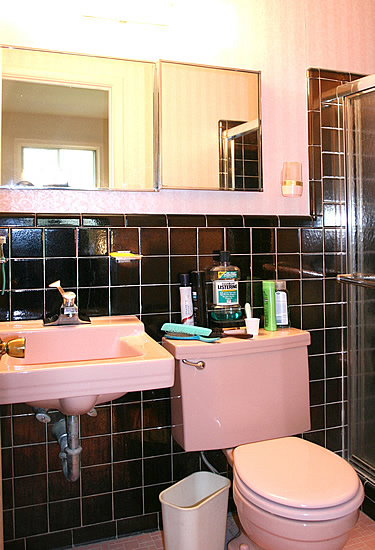
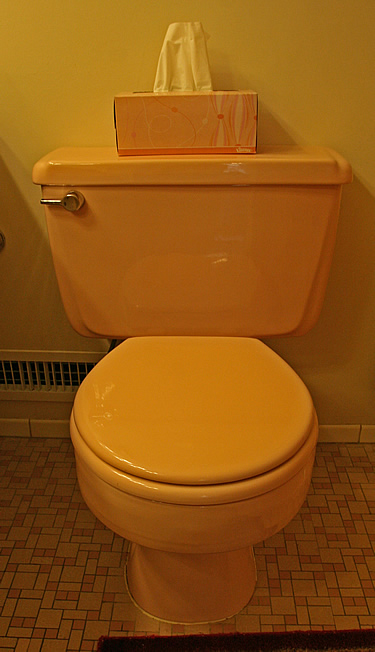
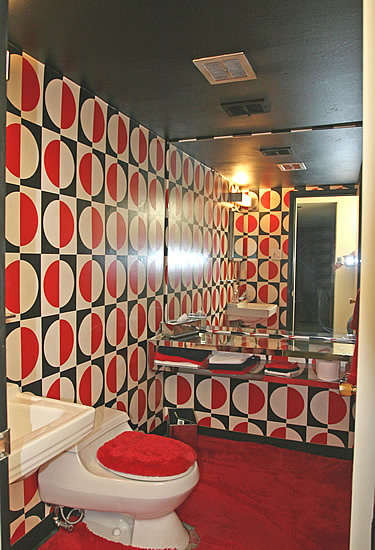
That 70's show bathroom before remodeling. A 60's pink and black bathroom before remodeling.
 *
*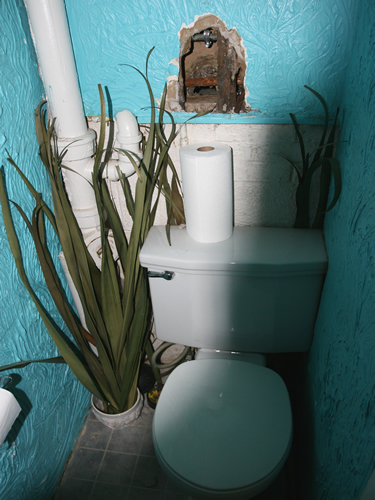
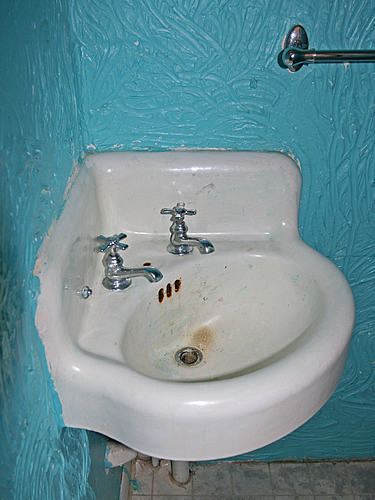
Vincent Van Gogh style bathroom wall texture. Bathroom corner sink, possibly from the 1930's.